One of the features of Systeme IO is the ability to create blogs. Probably the main benefit of a blog is to drive more traffic to your website, whereby the blog can be utilized to showcase your knowledge/expertise as well as build rapport and trust with customers.
While the Systeme IO blog may not have all the features or flexibility that you find in WordPress, the pros are that Systeme provides a platform for the blog which is easy to use, with very presentable blog templates, and most importantly, it gets the job done. The blog page created in Systeme IO is fully SEO friendly with customizable meta tags.
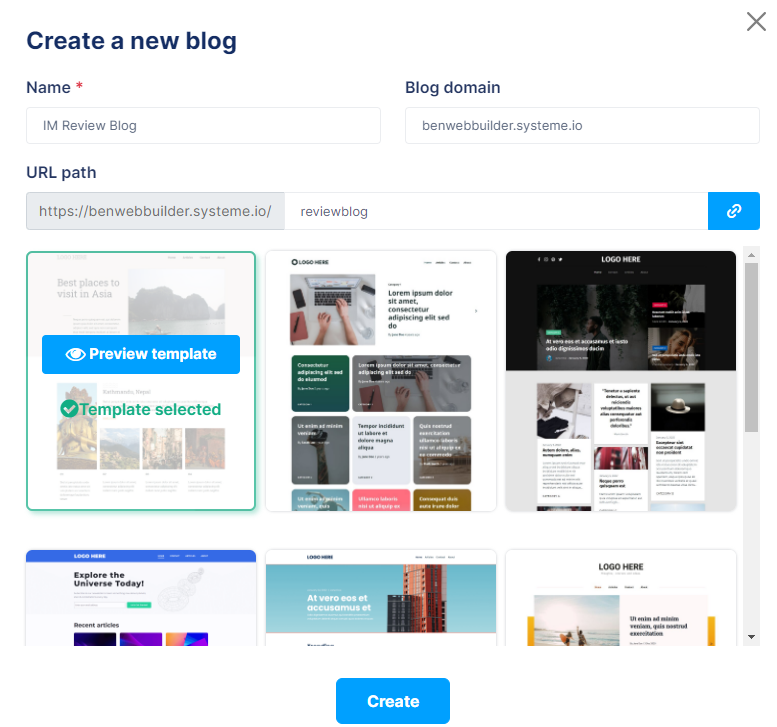
To create a blog, on the top navigation menu, go to Blogs, then click on Create a blog button.

You will be prompted with a pop-up window. Enter your blog name, select the blog domain (in case you have multiple domains pointing to Systeme IO), and enter the blog path.
Next, select your preferred template to use for your blog. There are a few layouts that you can choose from. Click on the Create button to proceed.
When you see the blog list, it means your blog has been successfully created.

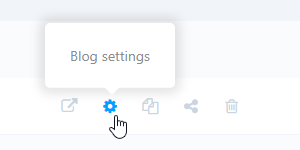
Click on the gear icon anytime if you ever need to change the blog name, domain, blog path, or even the language.
Click on the blog title to create a new post for your blog. Think of the blog as a container, and blog posts are the content within the container. Now that you have created the container (i.e., the blog), now it’s time to create the posts.

Chances are there are sample posts already created for you. You can easily delete it by clicking on the trash bin icon. Do the same for other posts.

Alternatively, you can just deactivate the posts by clicking on the deactivation button. It is a good option in case you need to refer to the sample posts, for whatever reasons. Once the post has been deactivated, it will be shown as an exclamation mark under the ACTIVE column.

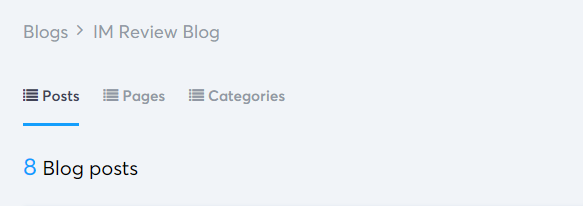
On the top, you will notice there are Posts, Pages, and Categories.
Just like WordPress or any other blogging platform, the concept is the same, in general:
Posts = new content or articles that you want to share
Pages = Usually used for pages like Contact, About, Home Page, etc.
Categories = To organize your posts for easy retrieval
(Note: under Pages, do note that the Home page and Post list page cannot be removed/deleted)
Before you create a blog post, you want to create a category or categories depending on your requirements.
Next, under the Posts, click the Create a blog post and fill in the title of your post, description, URL path, your post featured image (recommended), and select which category should the post goes to. Click on the post title to start editing the post.
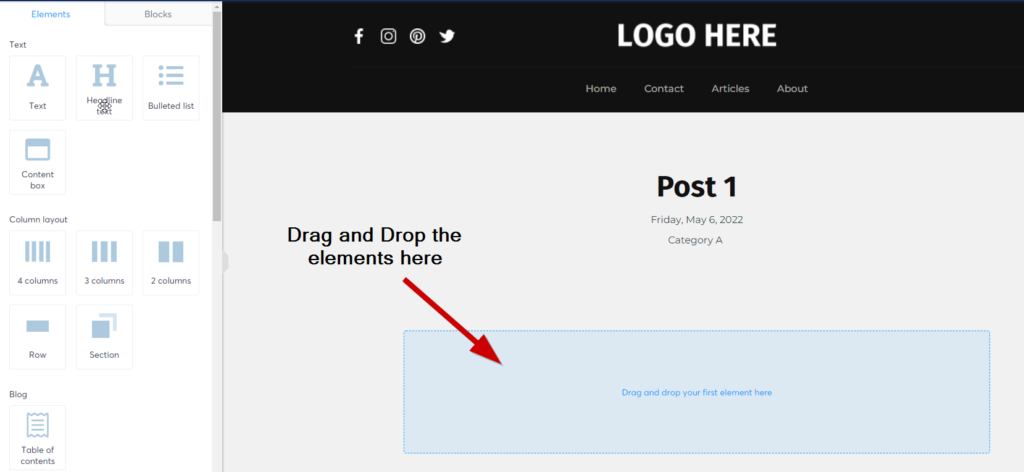
The editor is very easy to use, with elements on the left and post canvas on the right. To start writing a post, just drag the Text element and start writing. You can also add headlines, bulleted lists, content-box, and whatnot. Underneath the post title (Post 1) are the post date and category. These are fixed, so they cannot be removed or hidden. Once you are done, remember to click on the Save Changes button on the top-right.
What is Systeme IO Blog Layout?
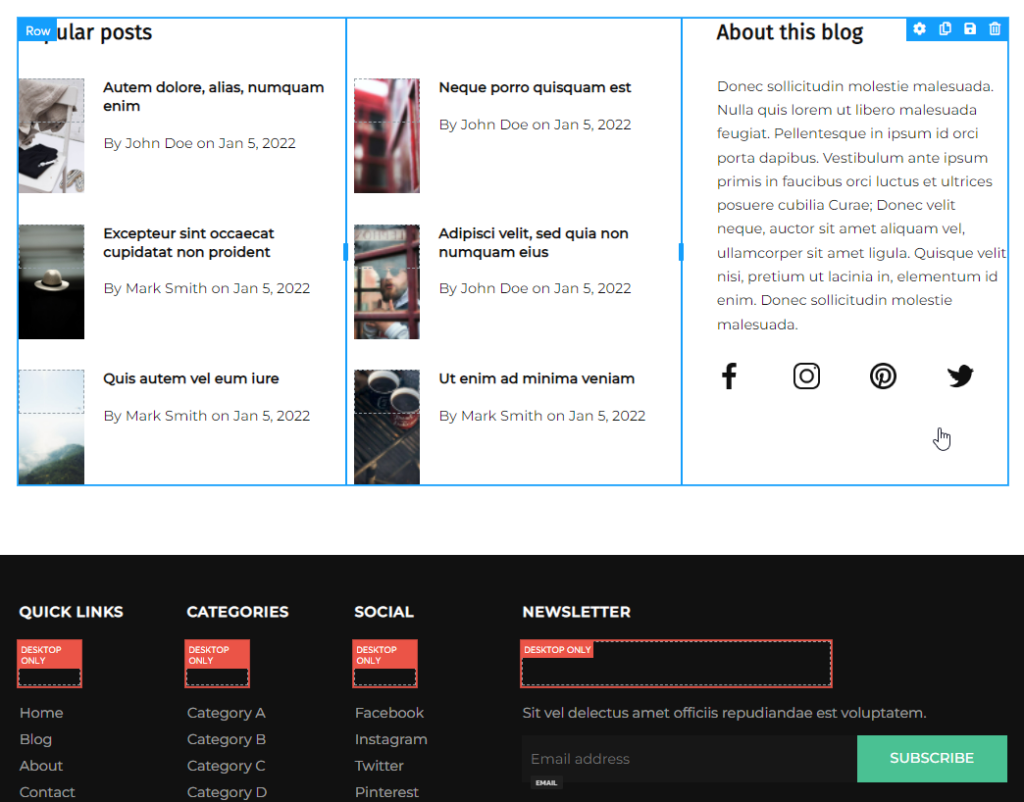
Blog layout gives you the flexibility to change and customize the blog header and footer.

With the blog layout, you can set global settings for the header and footer, which means the header and footer will be the same across the blog (throughout all pages, and posts)

That pretty much concludes with the tutorial on how to create a blog in Systeme IO. It is highly recommended that you create your own blog and post articles consistently (based on in-demand topics/winnable keywords) to get traffic to your website.