By compressing video, we reduce the video file size, thus the amount of storage required to store the video. That helps in reducing costs. Smaller video file takes lesser bandwidth, fast to transfer hence they improve overall playback performance and that increases user experience.
Therefore, compressing videos before uploading is a good practice especially when you are uploading videos to a non-dedicated video server.
How do you compress a video?
There are many online and offline software available to compress video. Some video editor also has video compression tool built in.
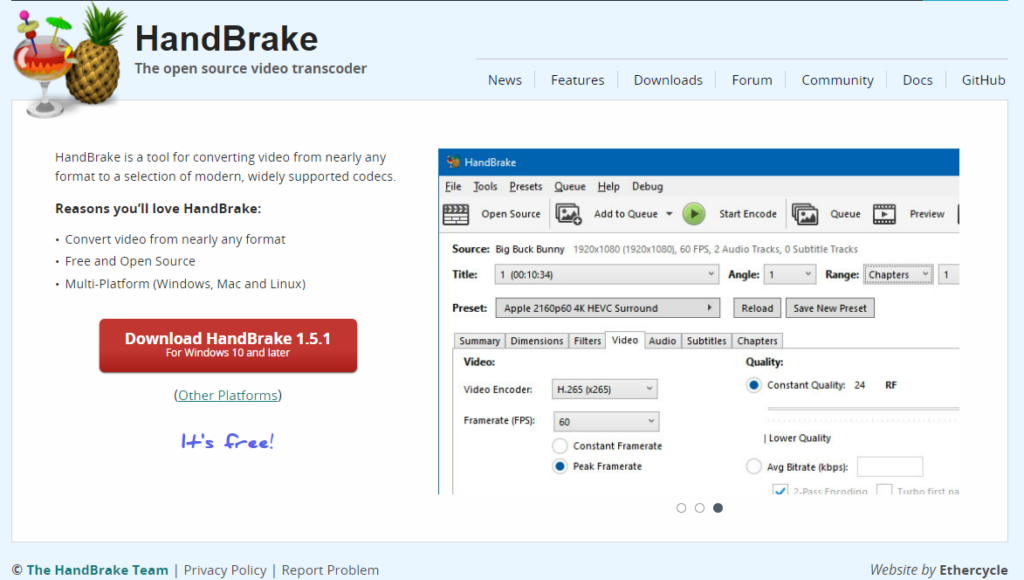
One of the easiest and free methods is by using the HandBrake tool. HandBreak is an open-source video transcoder that you can download and use for free. It is available in Windows, macOS, and Linux.
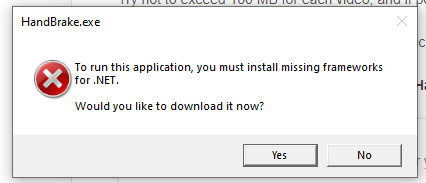
Once you have downloaded it, run the simple installation. It requires .NET framework to run, if you get a message below that notifies you of missing frameworks of .NET, chances are your computer does not have .NET frameworks installed yet. Just click Yes and it will bring you to the site to download .NET for free
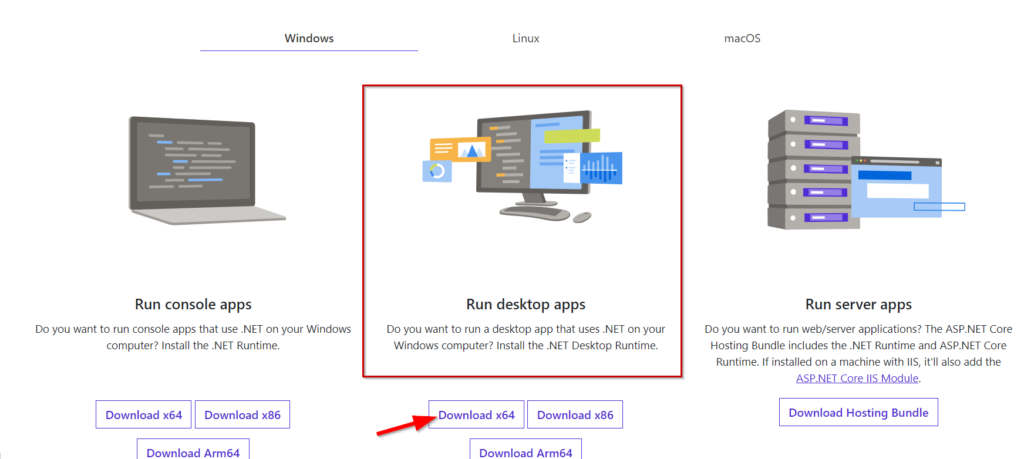
Depending on your machine, select the appropriate OS. If you are running Windows, select Windows and click on the download button.
Once you have done, re-launch the HandBreak application and it should work. (if not you may want to restart your computer).
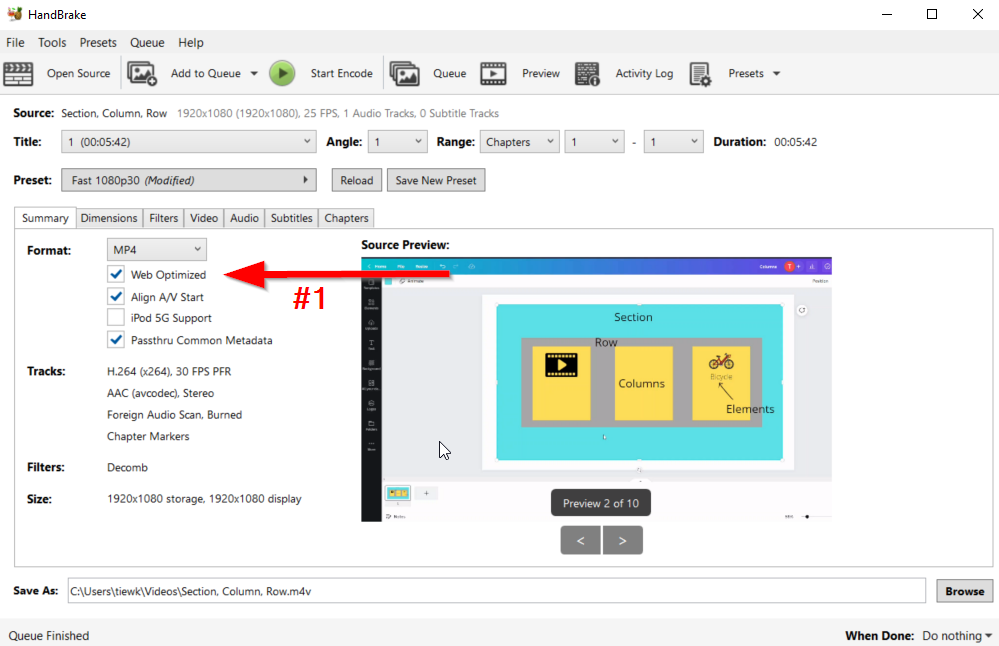
Under the Summary tab, make sure you tick the Web Optimized box.
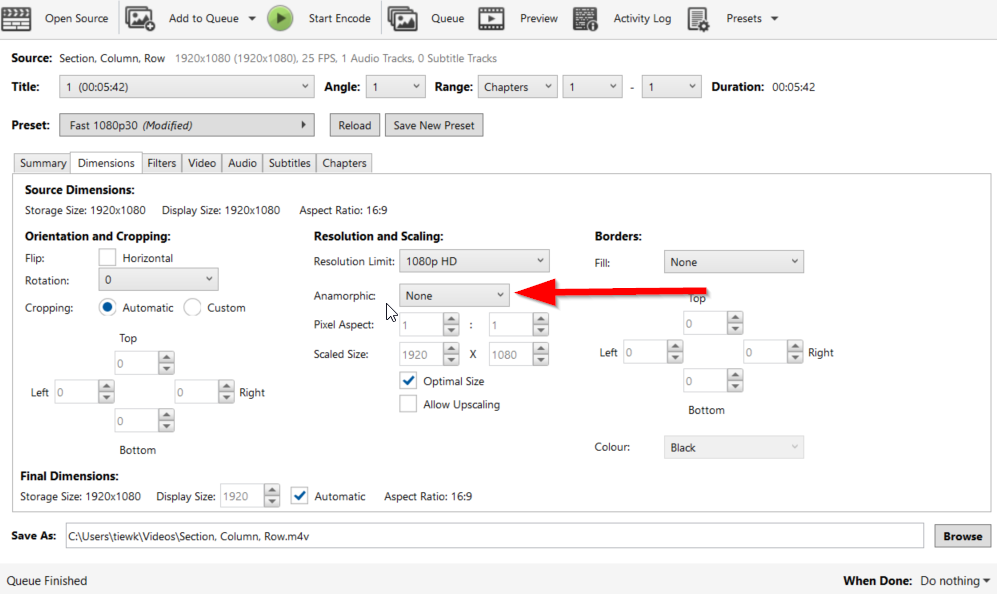
Next, under Dimensions – Anamorphic, select None
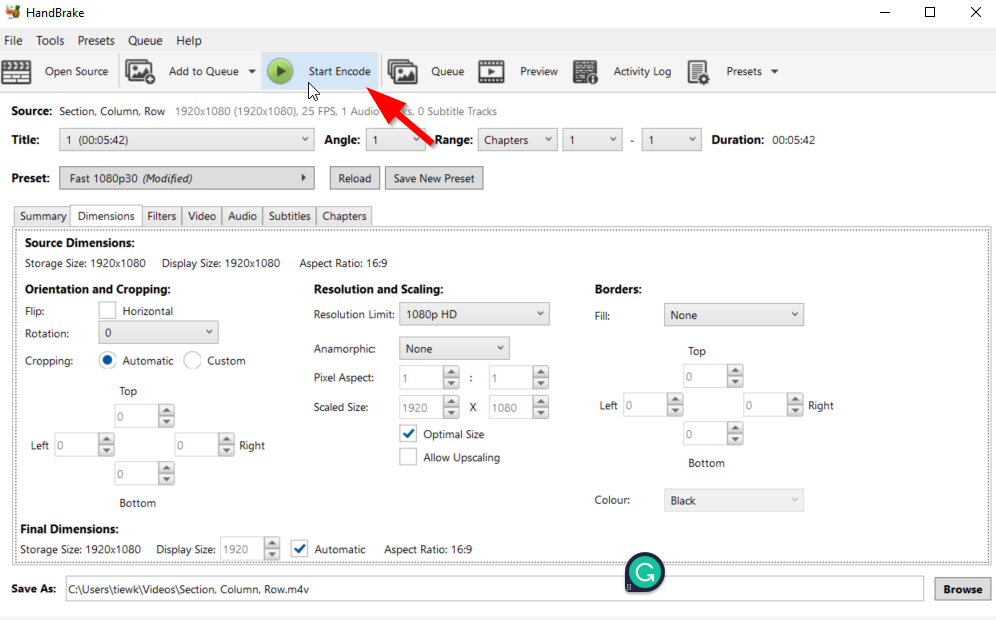
Click on Start Encode and the video compression process will start. Depending on the size of your video, it may take less than 1 minute or a few minutes.
Once done, if you were to compare both the original and compressed version, you will notice a significant reduction in size.