If you want to have the ability to create or customize the layout more effectively, you need to understand how the section, row, and column work in the Systeme website builder.
What are Sections, Rows, and Columns?
Section = The outermost layer of elements. It holds the rows and all other elements. In Systeme, the section is labeled in green.

Row = Row is the layer right above the Section. It holds columns, and other elements such as buttons, images, videos, etc. In Systeme, Row is labeled in blue.

Column = A row can split into multiple columns using the column elements.

The Section and Row = The King and the Queen?
When you insert or drag and drop any element to the canvas, Systeme will automatically insert the section and the row underneath the element that insert. In other words, sections and rows hold all other elements on the canvas. It is the foundation of elements.
If I were to insert the checkbox element. notice how both the section and row followed suit.


Elements Are Standalone
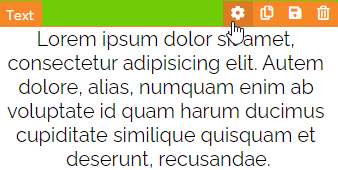
All elements are independent and can be managed individually, except the column. (for columns, the settings are inaccessible on the canvas). Elements have their own settings where you can set the margin or colour for example without affecting other elements. To change the settings of the element, just hover over the element and click on the gear icon, the settings panel will appear on the left.

Let’s say I want to change the background color of this section to green. All I have to do is hover over the section and click on the gear icon to open up the settings panel and make the changes accordingly.

I changed the background color to green. Look cool.
But I notice the whole column color also changed to green. What if I want to maintain the original white column background? I can make use of the Text background to accomplish that.

Let’s see how it works. Select the text element and click on the setting (or gear icon)

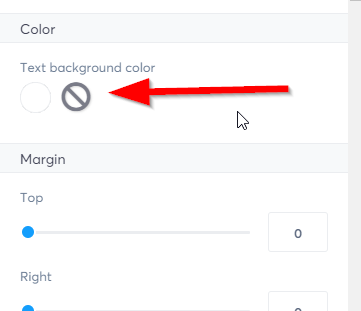
On the Text settings, scroll down and select the Text background color. This is where you can change the color that appears behind the text.

And voila… Now I have a white background. And I just repeat the same process for the rest of the text elements.

Once you understand the relations between section, row, and column, managing the layout and other elements will become easy.